
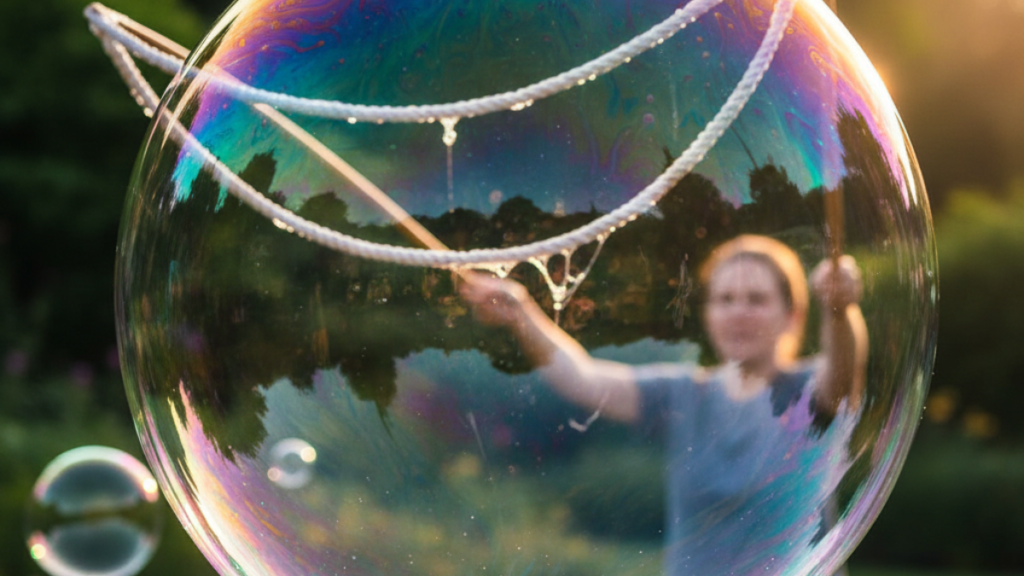
Tired of your bubbles popping instantly? Discover the ultimate science behind the perfect mix of soap and glycerin. Step-by-step guide to making long-lasting bubbles.
I don’t know about you, but I can get hypnotized staring at a bubble for minutes. It’s that perfect sphere, floating, with iridescent colors that look like a liquid rainbow… and then, boom!, it’s gone. That ephemerality is what makes them special, but let’s be honest: when you want to play or take amazing photos, having them burst as soon as they come out of the wand is a pain.
For a long time, I kept trying different mixes. I used dish soap from every brand, tried tap water, sugar, hair gel… and nothing ever worked perfectly. Until I put on my scientist suit and realized that this isn’t about just throwing in some soap at random, but about understanding surface tension and how to slow down evaporation.
Making strong bubbles is one of the cheapest and most spectacular ways to learn science with the family or, simply, to have a bit of fun in the garden. So, get ready, because we’re going to reveal the formula that professional bubble show performers keep under lock and key.
The star ingredient: What is glycerin and why do we need it to make strong bubbles?
Surely you’ve heard of it. Glycerin (or glycerol) is a thick, clear liquid with a slightly sweet taste that you can find at any pharmacy. In our mission to create strong bubbles, glycerin acts like a protective shield for the bubble.
Regular bubbles pop for two main reasons: either something touches them (a finger, a speck of dust, the ground), or the water they contain evaporates. When the water evaporates, the layer that holds the bubble together becomes too thin, and the surface tension breaks it.
This is where our friend glycerin comes in. It’s a hygroscopic substance, which is a fancy way of saying it loves to absorb and hold moisture. By adding it to our mix, we’re making the bubble’s water layer much stronger and, most importantly, it takes much longer to evaporate. The result is stronger bubbles that are more elastic, heavier, and much more resilient to drafts.
The shopping list: Materials for your strong bubbles.
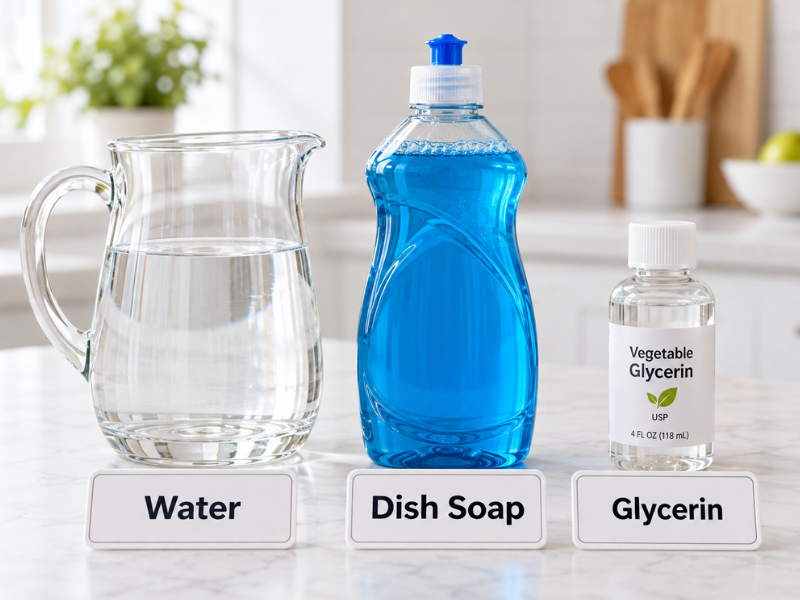
Before we start mixing like crazy, let’s get the materials organized. We don’t need anything out of this world, but the quality of the ingredients matters more than you think.
First off, water. If you live in an area with very hard water (lots of minerals), your bubbles are going to be a disaster. The minerals react with the soap and create kind of clumps that weaken the structure. My golden tip: use distilled or demineralized water (the kind for irons). It’s cheap and makes the difference between a perfect bubble and one that barely forms at all.
Then there’s the detergent. Not all of them are the same. We need one that’s rich in surfactants. Classic Fairy, especially the Ultra version, is usually the gold standard in Spain because it has a very high concentration. If you use a very cheap store brand, you might have to add a lot more to get the same result.
And of course, liquid glycerin. We’ll also need a large container for mixing, preferably one with a lid so we can store any leftovers, because, and here’s another secret, the mixture gets better over time.
The creation process: The master recipe step by step.
Let’s get to what interests you. This is the ratio I use and it has never failed me. It’s the base on which you can later experiment depending on the humidity in your area.
The magical proportions.
To start, we’re going to use a simple rule: 2-1-1. Two parts water, one part concentrated soap, and one part (or half, if you’re running short) glycerin.
The art of mixing without foam.
This is the number one mistake beginners make. They start stirring the bucket as if they were beating eggs for an omelet and end up creating a mountain of foam on the surface. Big mistake. Foam is the enemy of big bubbles. If your mix has foam, when you try to use the bubble wand, the tiny bubbles will pop the big one before it even starts to form.
You need to pour in the water first, then the soap, and finally the glycerin. Stir very slowly, with a wooden spoon or stick, making slow circular motions. We want everything to blend perfectly without creating a single small bubble on the surface. If you see any foam forming, remove it with a spoon before you start playing.
The secret of rest: Why patience is your best ingredient.
This is the point where most people fail. Once you’ve made the mixture, the temptation to grab the bubble wand and start blowing is almost irresistible. But trust me: wait.
The mixture needs time to stabilize. When we mix the soap, water, and glycerin, the surfactant molecules (the soap) need to organize themselves. They have to form an orderly structure around the water molecules. If you let the mixture sit for at least 24 hours, you’ll notice that the bubbles are infinitely more elastic and durable.
I usually prepare the mixture the night before. I cover it well so no dust falls in and leave it in a cool place. The next day, the mixture has an almost silky texture. That’s when it’s at its peak. If you can wait 48 hours, even better. It’s like a good stew, it’s tastier the next day!
If you want, you can watch it on YouTube. You can also subscribe to the channel—it’s free!
Garden engineering: Create your own giant tools.
If you want to make strong bubbles that look like blimps, the little plastic bubble wands from the dollar store won’t work for you. You need something that can hold a lot of liquid and release it evenly.
The rope loop: The king of giant, durable bubbles.
For me, there’s nothing better than the two-stick-and-a-rope system. It’s simple, cheap, and super effective. You need:
- Two wooden sticks or canes about 50-80 cm long.
- Cotton rope (important: it has to be cotton or wool, not nylon). The cotton absorbs the mixture and acts as a reservoir for the soap film.
- A metal washer or a small weight.
Tie the rope into a triangle between the tips of the sticks. The bottom rope should be a little longer so it hangs, and that’s where you put the weight so the triangle keeps its shape when the wind blows. When you open the sticks, the air creates a giant membrane that turns into an epic-sized bubble.
The coat hanger trick and other crazy inventions.
If you don’t have sticks on hand, look for one of those thin wire hangers from the dry cleaner. Shape it into a circle and cover it with a bit of wool or cotton thread. The wool will hold the liquid and let you make bubbles the size of a pizza.
You can even use a funnel, a cut-up plastic bottle, or your own hands. Yes, if you coat your hands thoroughly with the mixture up to your wrists (so there are no dry spots that break the surface tension), you can form a soap film between your fingers and create bubbles just by blowing. It’s an amazing feeling to sense the elasticity of chemistry on your own skin.
External factors: The weather, your best ally or your worst enemy.
You can have the best recipe in the world, but if the weather doesn’t cooperate, you’re going to struggle. The science of bubbles is a constant battle against evaporation.
Humidity: The critical factor
Do you know the best time to make strong bubbles? Right after it rains or on very humid days. When the air is already saturated with water, your bubble has a much harder time evaporating its own liquid layer. If you live somewhere dry, or it’s midday in August, your bubbles will last half as long.
A pro tip: if the day is very dry, use a spray bottle to moisten the air around you before you start. It will create the perfect microclimate for your bubbles.
The wind: Gentle breeze vs. gale.
A little wind is great because it blows up the bubbles for you, without having to blow or run. But if the wind is too strong or gusty, it will break the membrane before it can close. Look for sheltered areas, or wait for those calm moments at sunset, where the light also hits from the side and brings out all the colors of the glycerin.
How to touch the tough bubbles without them popping.
This is where you leave kids (and adults) amazed. Normally, if you touch a bubble with a dry finger, the grease and dryness of the skin instantly break the surface tension. Boom!
But what if you wet your hand with the soap and glycerin mix? Since your hand is covered with the same liquid film as the bubble, you can “go through it” or hold it in the palm of your hand without it breaking. Thanks to the glycerin, the membrane is so elastic that you can stick a wet finger in and pull it out. It’s like the bubble is an invisible elastic fabric. You can even play “tennis” with them if you use clean wool gloves, because the wool fibers hold the bubble without creating an immediate breaking point.
Recipe variations: The trick with sugar and hair gel.
If you’re already an expert with glycerin, you might want to experiment a little more with your tough bubbles. There are people who don’t have glycerin on hand or who want to take the durability to the next level. This is where the ‘kitchen’ ingredients come in.
Powdered sugar.
Sugar serves a similar function to glycerin: it slows down the evaporation of water and gives body to the mixture. If you add a couple of tablespoons of powdered sugar to your hot mixture (before adding the soap so it dissolves well), you’ll see that the bubbles become a bit stiffer. Some even use cheap hair gel, to create bubbles that withstand incredible hits. But for me, the combination of distilled water, soap, and glycerin is still the undisputed queen for its cleanliness and results.
The color of science.
Have you noticed the colorful stripes dancing on the surface of the bubble? That’s called thin-film interference. When the bubble layer is thick, it looks reddish and greenish. As the water evaporates and the layer gets thinner and thinner, the colors change until the bubble looks gray or transparent. That’s the sign that it’s about to pop. Glycerin keeps those colors vibrant for much longer because it keeps the layer “thick” and healthy.
Frequently Asked Questions about Durable Bubbles.
Here I’ve gathered what you always ask me when we’re in the middle of an experiment. Let’s give it a scientific touch but easy to understand.
Why are bubbles always round?
It’s a matter of energy saving. Nature is lazy by definition. The sphere is the geometric shape that allows you to enclose a volume of air using the least amount of surface possible. The surface tension of soap pulls inward with the same force in all directions, creating that perfect sphere.
What is the exact science that makes glycerin make bubbles strong?
Here’s the heart of the matter. A soap bubble is actually a ‘sandwich’ of three layers: a layer of soap molecules, a layer of water in the middle, and another layer of soap molecules. The problem is that water is very volatile and wants to escape into the air (evaporation). Glycerin chemically binds to water molecules through hydrogen bonds, acting like an anchor. This makes it much harder for the water to leave the bubble. Also, glycerin increases the viscosity, preventing the liquid from dripping too quickly to the bottom of the bubble because of gravity (which usually makes the top part thin and pop).
Can I make bubbles if I don’t have distilled water?
You can, but don’t expect miracles. Tap water has mineral salts (calcium, magnesium) that are like “stones” in your shoe for soap molecules. These salts break the continuity of the soap film and create weak spots. If you have no other option, boil the tap water and let it cool; that will help some minerals settle, but the ideal is always distilled water.
Why do they explode when they touch the grass but not if they touch a wool sweater?
Grass usually has tiny spikes and sometimes a layer of grease or dust that breaks the surface tension on dry contact. However, if the surface is fibrous and clean (like certain types of wool), there’s less actual contact area, and the bubble can ‘rest’ on the little hairs without the main membrane stretching to the point of bursting.
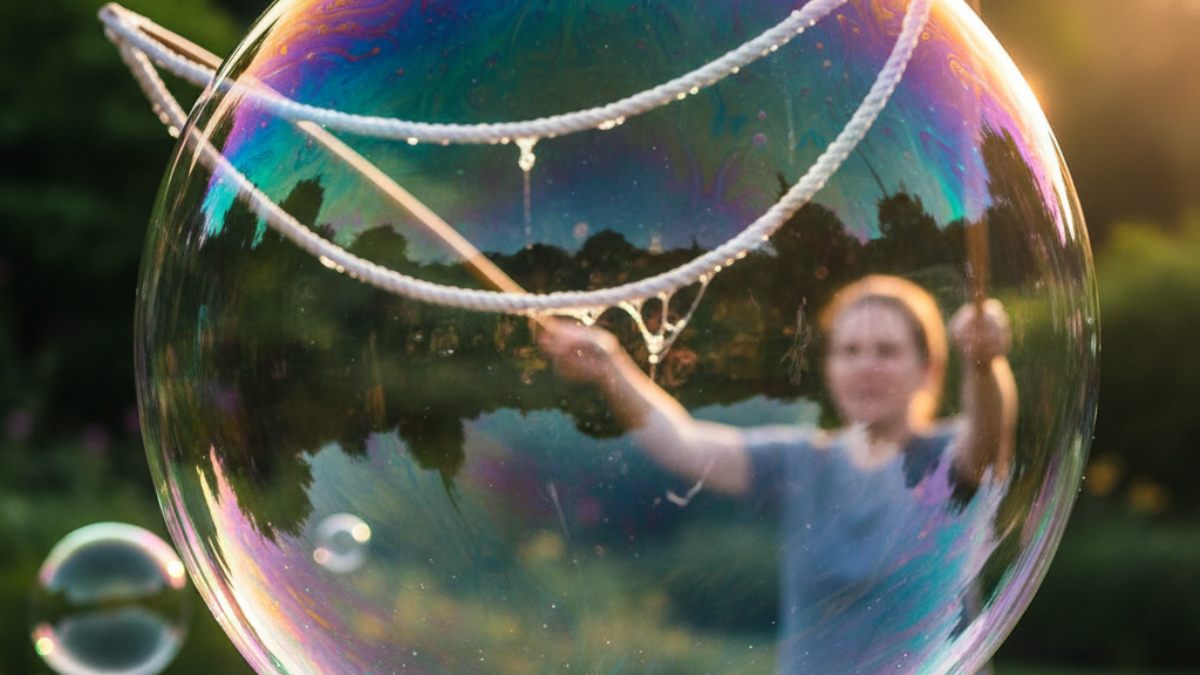
Learn how to make the ultimate professional mixture to create strong bubbles, using simple ingredients like glycerin and concentrated soap.
Total Time: 10 minutes
Prepare the distilled water
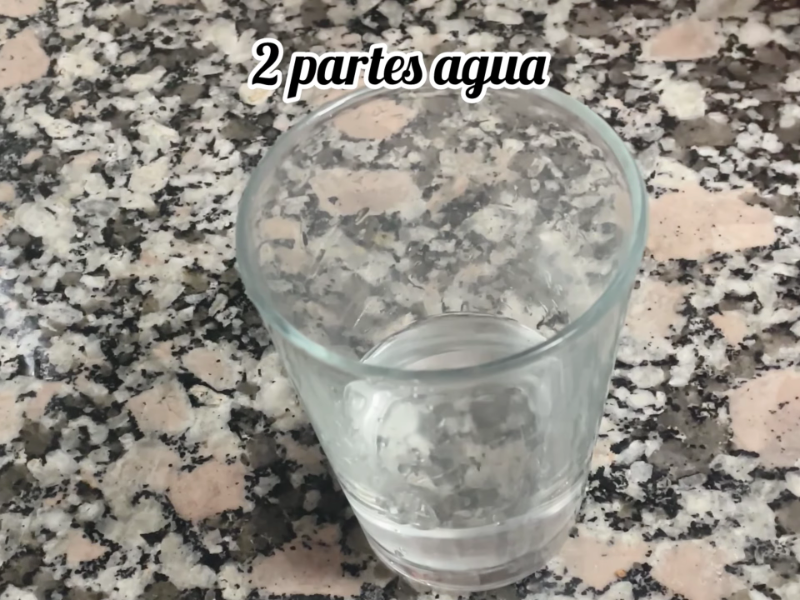
Pour two parts of distilled water into the container. It’s vital that the water is demineralized to prevent lime from breaking the surface tension of the bubble.
Add the detergent carefully
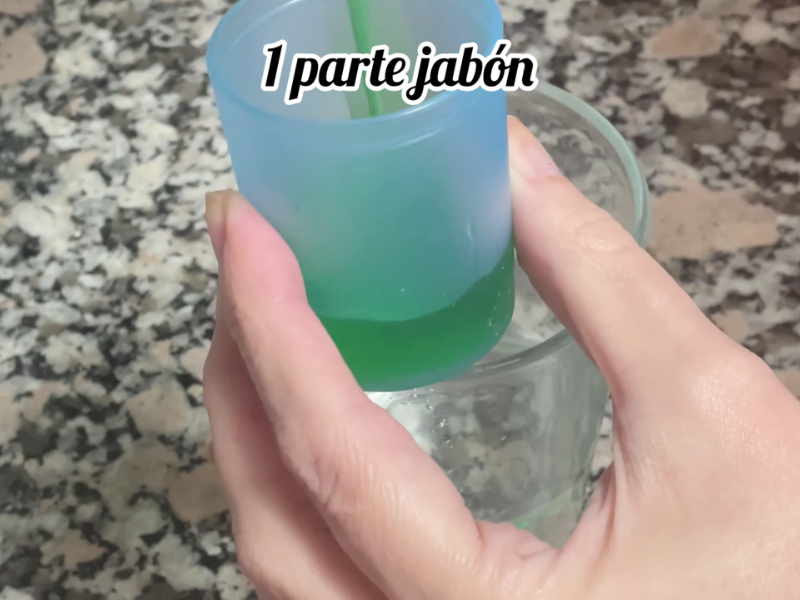
Pour some soap very slowly. Important: Don’t shake the container. We want to mix, not create foam. Foam is the number one enemy of big bubbles.
Add the secret ingredient: Glycerin
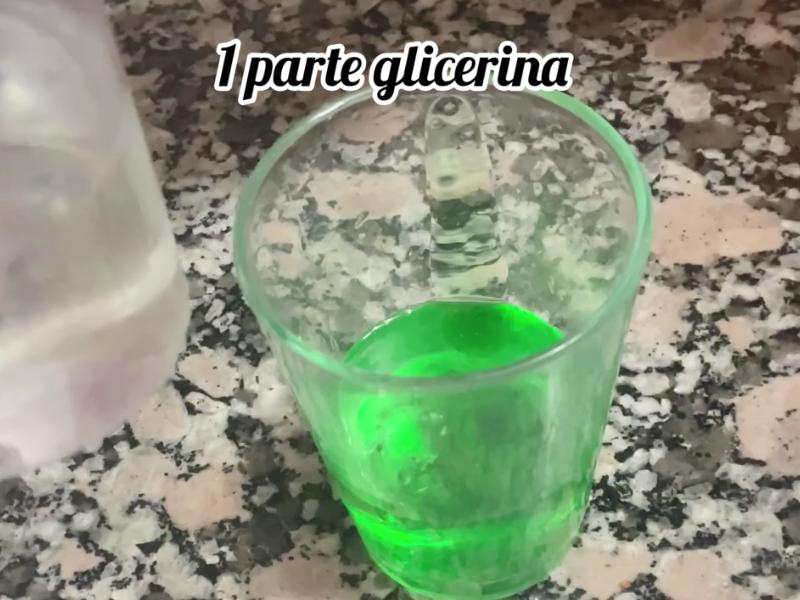
Add some liquid glycerin. This ingredient is what will give it elasticity and slow down the water from evaporating, making the bubble ‘unbreakable’.
Slow and even mix
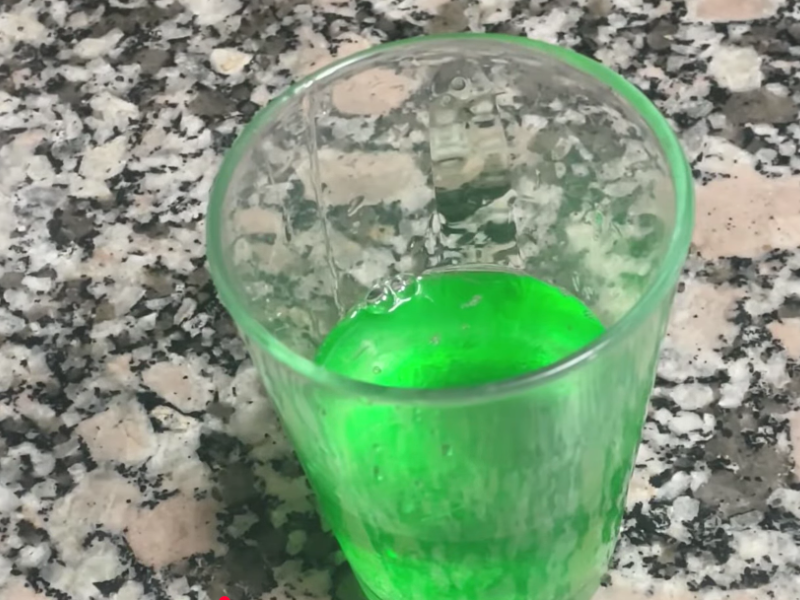
Stir with the wooden spoon in slow circles. Make sure the soap and glycerin don’t stay at the bottom. Keep going until the liquid is smooth and translucent.
The all-important resting time (Key to Success)
Cover the container and let the mixture sit for at least 24 hours. During this time, the molecules align and the leftover foam disappears, leaving a much more powerful formula.
Creating the bubble wand
Dip your tool (rope or hoop) completely into the liquid. Gently take it out and let the breeze or a slow movement of your arms inflate the membrane. Enjoy your ultra-strong bubble!
Estimated Cost: 5 usd
Tools:
- A large container with a lid.
- A wooden spoon or stick for stirring.
- Handmade bubble wands (cotton string and sticks).
Materials: distilled water soap glycerin
Your turn to create magic with durable bubbles.
Making strong soap bubbles isn’t just child’s play; it’s a fascinating demonstration of fluid physics right in your living room. We’ve gone from a simple dish soap mixture to creating elastic, long-lasting, giant structures that challenge what we think we know about fragility.
The best part is that every mixture is its own world. I encourage you to experiment, change the proportions, try different brands of soap, and watch how your bubbles’ behavior changes depending on your city’s humidity. It’s real, tangible science, and above all, a lot of fun.
Now it’s your turn! Have you managed to make a giant bubble that doesn’t pop? Have you discovered any secret ingredients that we haven’t mentioned here? I love learning from your own experiments with durable bubbles, so leave me a comment below telling me about your experience, or post your questions if you’re struggling with your mixture. I promise to lend you a hand to make your bubbles legendary!
If you liked this scientific guide, don’t forget to share it. Who knows, maybe the next great Guinness World Record for soap bubbles will come out of the readers of this blog!

