
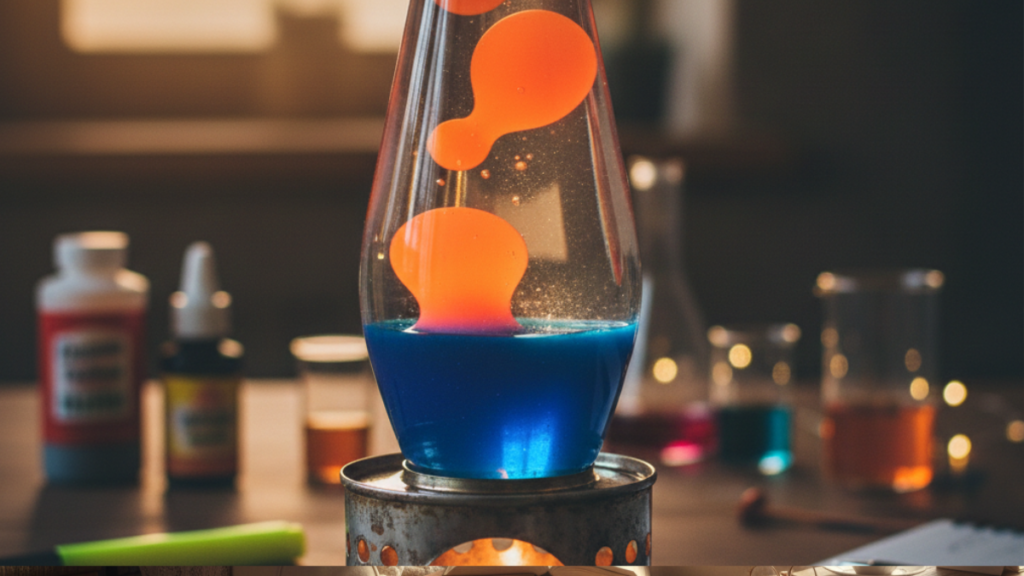
Discover the ultimate secret on how to make a lava lamp with oil, alcohol, and a candle. Epic step-by-step guide with real science, safety tips, and calibration tricks to make it float on the first try.
If you’re one of those people who sees something that shines, moves, and has a retro vibe and automatically thinks: I have to know how that works and, above all, I have to do it myself, you’re in the right place.
I’m not going to lie, I’ve always had that inner spark to want to try everything. I wake up with an idea, research for three hours, buy the materials, and get to work. That’s exactly what happened with the lava lamp.
Sure, you’ve probably seen a thousand videos out there where they drop an effervescent tablet in a glass of oil and say that’s a lava lamp. Okay, it’s fine for passing time, but let’s be honest, that’s not a real lava lamp.
A genuine lamp is the one that moves with heat, the one you can leave on and watch the bubbles rise and fall in an endless cycle of absolute peace. That’s the one we’re going to build today.
In this post, I’m going to tell you absolutely everything. I’m not going to keep a single secret. We’re going to talk about densities, why alcohol and oil don’t mix well, how a candle can create a magical flow of movement, and how to keep your living room from ending up smelling burnt.
If you’re looking for a quick five-minute craft, this might be a bit much, but if you want to understand the magic of physics while creating an amazing decorative piece, stick with me.
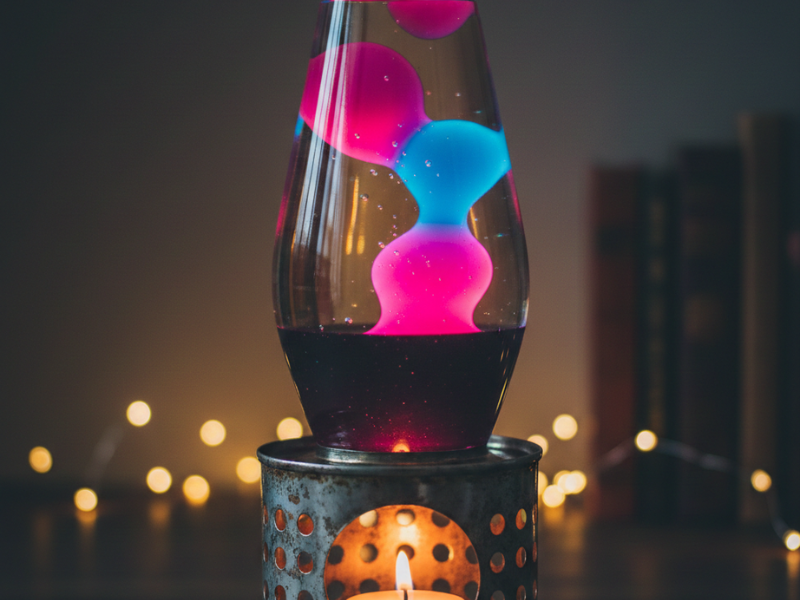
The science behind hypnotic movement
Before we get our hands dirty, I want you to understand what’s happening inside the jar. It’s not magic, even if it looks like it. It’s pure physics, and understanding it is what’s going to make your lamp more than just a jar of oil.
The concept of density: the foundation of everything
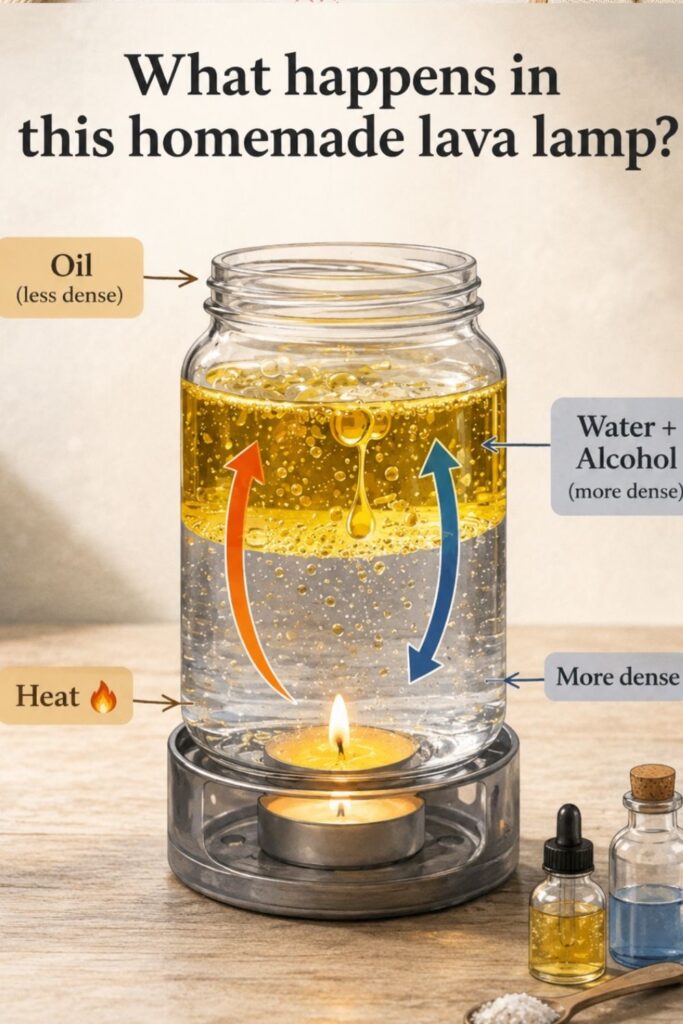
This creates a wonderful dilemma for us. If we want something to go up and down, we need that something to have a density that we can change with a little bit of heat. The secret that almost nobody tells you is that we have to make a liquid that’s almost, almost as dense as the oil, but just a tiny bit more. For that, we mix water with alcohol. By combining them in just the right proportion, we create an environment where the oil just stays there, unsure whether to go up or down. That’s the point of balance we’re going to look for.
Polarity, or why you’ll never see a homogeneous mix
Have you ever wondered why oil and water don’t mix, even if you shake them like there’s no tomorrow? The answer is molecular polarity.
Water is a polar molecule. It has a positive side and a negative side, just like a magnet. That’s why water molecules love to stick together, clinging to each other.
Oil, on the other hand, is nonpolar. It doesn’t have those poles. It’s like water is an exclusive club that only lets in those with magnets, and oil just doesn’t fit in.
In our homemade lava lamp, this is vital. We want the oil to keep its bubble or drop shape. If the oil mixed with the alcohol or water, we’d end up with a cloudy, ugly soup.
Thanks to polarity, the oil stays together in perfect spheres that travel through the alcohol without falling apart.
Thermal convection: the engine of our lamp
This is where the candle or heat source you choose comes in. Convection is a process of heat transfer that happens in fluids.
When we put a candle under the jar, the liquid at the bottom heats up. As it heats, the molecules in that liquid start vibrating faster and moving apart.
Remember what we said about the bus? As the molecules move apart, the liquid expands, takes up more space but weighs the same, so its density decreases.
At that moment, the miracle happens: that hot liquid becomes less dense than the oil on top of it, and boom!, it rises up. When it reaches the top of the jar, it moves away from the heat source, cools down, its molecules come back together, becomes dense again, and falls back to the bottom.
This cycle of rising when it’s hot and falling when it’s cold is what we call a convection current. It’s the same thing that makes hot air rise in a room or water boil in a pot. In our lamp, it’s what gives it life.
Materials needed to make a lava lamp
I’ve tried many combinations and I’m going to tell you what works best so you don’t waste your time. You don’t need to spend a fortune, you probably already have almost everything in your kitchen or medicine cabinet.
- A tall, narrow glass jar. It’s essential that it’s made of heat-resistant glass. Don’t use a a cheap thin glass because it might shatter from the heat of the candle. A tall canning jar or a well-cleaned asparagus jar usually works wonderfully.
- Vegetable oil or baby oil. I prefer baby oil because it’s very clear and lets the light pass through better, plus it usually smells nice. Cooking vegetable oil also works, but it gives a yellowish tint that can sometimes spoil the aesthetic effect.
- 70% or 91% isopropyl/rubbing alcohol. 96% also works, but you’ll need to use more water to balance out the density.
- Tap water (if it’s distilled, even better, so no sediment forms over time).
- Food coloring or, even better, the ink from a fluorescent marker. If you use fluorescent ink and then put a black light nearby, you’ll be amazed at the result.
- A small candle (like a tea light), or a lamp with an incandescent bulb of about 25 or 40 watts.
- An empty can (like a tuna or tomato can) to make the base.
- Some scissors or an awl to make holes in the can.
- A lighter or matches.
Building the Engine: The Homemade Heat Base
The first thing we need to make a lava lamp is a place where it can rest while the candle does its work. We can’t put the jar directly on the candle because we would snuff out the flame from lack of oxygen, and also, the heat would be too focused on one spot of the glass, which could give us a scare.
This is where the can of tuna I asked for comes in. What we’re going to do is make a stand that lifts the jar and allows air to circulate. Grab a can opener or some strong scissors and make some holes in the sides of the can.
Don’t hold back, make about four or five generous holes. These holes are the lungs of your lamp, they let oxygen in so the candle doesn’t go out and so the heat spreads more evenly to the bottom of the jar.
Once you have the can ready, place the small candle inside. Make sure the can is stable. If you see the glass jar wobbling a bit on top, look for a slightly bigger can, or make sure the edge is nice and smooth. This really simple setup is actually a miniature convection radiator.
The Art of Mixing: The Balance of the Three Liquids
Now comes the part where most people throw in the towel, but you and I aren’t going to do that. We’re going to fill the jar. But we won’t do it just any way, because the order really matters here.
The alcohol base and the first contact with the oil
Grab your clean, dry glass jar. The first step is to pour in the alcohol. Ideally, it should cover about an inch at the bottom of the jar. That’s enough to get started.
Now, add a couple of drops of oil. Watch closely what happens. The oil will go straight to the bottom of the alcohol. Why? Because, as we’ve already learned, oil is denser than pure alcohol.
It will stay there, like a little golden marble resting at the base. If it stays down there, we’re on the right track. If for some weird reason your oil floats on the alcohol, it means your alcohol has a lot of water or your oil is very light, but normally it sinks.
The preparation of the magic water
Now set the jar aside for a moment and grab the small glass of water. This is where we’re going to add the color. If you’re using ink from a fluorescent marker, just take the felt cartridge out of the marker and squeeze it into the water until it has a strong, bright color.
This colored water is what will become our lava. But if we pour it straight into the jar like that, it will sink to the bottom and stick there because water is much denser than oil and alcohol. We have to “trick” physics.
The perfect calibration to make a lava lamp
Go back to your jar that has the alcohol and the little drops of oil at the bottom. Now, very gently, start pouring the colored water. Do it drop by drop, or let it run down the side of the glass. We don’t want everything to mix all at once and create a cloudy emulsion.
What we’re doing is increasing the density of the liquid mixture at the bottom (the alcohol mixed with water). As you add water, the alcohol becomes heavier.
You need to watch the oil drops you added at the beginning. There will be a magical moment when you’ll see the oil drops stop being squashed at the bottom and start to round up, lift by a millimeter, and float almost weightlessly.
That’s the critical point. If you add too much water, the oil will shoot up and end up floating on the surface, and that doesn’t help us. We want the oil to be in that limbo where it almost floats but still doesn’t have the strength to rise.
It’s like we’re tuning a musical instrument; just a couple of drops of water can make the difference between success and failure.
Once the oil droplets look rounded and light, with that perfect spherical shape, fill the rest of the jar with oil. Do it very slowly so you don’t break the balance you’ve just achieved.
You’ll see that the oil sits above the alcohol and water mixture, creating a beautiful, transparent column.
Starting the First Rise
We already have the jar ready. We have the base with the candle. Now all that’s left is the final step. To make a lava lamp, carefully place the jar on the tuna can and light the candle.
Now we have to wait, don’t be impatient. The glass needs to heat up, and then that heat has to transfer to the alcohol and water mixture at the bottom. Since the heat from a candle is steady but small, this can take a few minutes.
What you’re about to see is fascinating. The alcohol and water mixture in contact with the bottom will start to expand. You’ll see the colored bubbles begin to stretch and change shape.
Suddenly, one of them will break free and start rising slowly, moving through the whole column of transparent oil as if it were an astronaut in space.
It’s an amazing moment when you do it for the first time. You’ll see that when it reaches the top, the bubble stops, hangs out for a bit resting, and then, as it cools, comes back down heavily to join the rest of the liquid at the bottom and start the cycle again.
You can watch it on YouTube.
Fixing common mistakes when making a lava lamp
Making a lava lamp is like cooking a good stew; sometimes you overdo the salt or don’t have enough heat. Here I’ll explain what to do when physics gets a little rebellious.
Why has my liquid turned cloudy?
This is the number one problem. If you see that the liquid is no longer clear and it looks like there’s a fog inside, most likely you’ve shaken the bottle, or poured the liquids too forcefully.
What has happened is an emulsion: thousands of tiny oil droplets have mixed with the alcohol and refuse to separate.
The solution is patience. Turn off the candle and let the lamp rest for 24 hours. Time and gravity are usually the best friends of clarity.
If it’s still the same after a day, it’s possible that the dye you used isn’t compatible with the oil and is dissolving where it shouldn’t. In that case, you’ll have to empty it, clean it well with degreasing soap, and start again more carefully.
My bubbles all stay at the top and don’t go down
If your lava rises and sticks to the top of the jar like it’s scared to come down, you have two possible culprits. The first is too much heat. If the liquid at the bottom is too hot, its density drops so much that the bubble takes forever to cool down enough to fall again.
Try moving the candle a little farther away, or putting a slightly higher base.
The second culprit is the density of the base liquid. If you added too much water to the alcohol, the mixture at the bottom is now so dense that even when the bubble cools, it’s still lighter than the surrounding liquid.
How do we fix it? Add a tiny splash of pure alcohol along the inside wall of the jar. This will make the surrounding liquid lighter and force the bubble to go down on its own.
The oil sticks to the bottom and doesn’t come up even with heat
Here it’s quite the opposite. Your mix of alcohol and water is too light. The oil feels so heavy in comparison that the candle’s heat isn’t enough to expand it enough for it to float.
To fix this, you need to add density to the base liquid. Drop a couple of drops of water (with some coloring so you don’t lose the hue) and watch. You’ll see the oil bubbles start to round up again. It’s a precision dance, so go drop by drop.
The Finishing Touch: Galactic Lighting and Aesthetics
Making a lava lamp without good lighting is like a concert without speakers. Sure, it moves, but it doesn’t excite. Let’s give it that professional look that will make your friends ask where you bought it.
The highlighter trick
I already mentioned it to you before, but I want to go deeper into this. The ink in fluorescent yellow highlighters contains a substance called fluorescein.
This substance reacts to ultraviolet light, emitting a glow that looks otherworldly. If you have a small black light or an ultraviolet LED, put it near the base. The effect of the lava glowing in the dark as it moves is simply hypnotic.
Colors and contrasts
Don’t limit yourself to just one color. You can play with contrast. For example, use clear baby oil and dye the water a deep blue. Or, if you’re feeling creative, look for mineral oils that already have a slight yellowish tint and use red dye for the lava.
The contrast between orange and yellow will give the room an amazing warmth.
That said, avoid oil-based dyes if you want the clear liquid to stay that way. It’s best to use water-soluble dye so it stays trapped in the drops of water and alcohol and doesn’t stain the rest of the oil.
Safety first: We don’t want any fires at home
Look, I love experimenting and trying new things, but I don’t want anyone to get scared. Working with alcohol, oil, and fire requires you to keep a cool head.
The Danger of Alcohol and the Flame
Alcohol is extremely flammable. That’s why setting up the tuna can is so important. Always make sure the jar is secure and that there’s no chance it could tip over.
If alcohol were to spill directly onto the lit candle, you’d have a serious problem. Always have a damp cloth on hand or a fire extinguisher nearby if you’re doing experiments like this on a larger scale.
The golden rule when making a lava lamp: The jar is always open
This is the most important point in the entire guide. Never, under any circumstances, close the jar lid while the lamp is running with heat.
Heat causes the liquids and the air inside to expand, creating vapor pressure. If the jar is sealed tightly, that pressure has nowhere to escape and the glass could shatter. Let the lamp breathe.
If you’re worried about the alcohol evaporating, you can place the lid on top without screwing it on, just resting it there, so it acts as a natural escape valve.
The thermal stress of glass
Glass is a fantastic material but it hates sudden temperature changes. Don’t put a jar that’s just been in the fridge directly on the candle, and don’t try to cool the lamp with cold water right after turning it off.
Let everything reach room temperature naturally.
Sudden temperature changes create microcracks that can make the jar break at the most unexpected moment.
The perfect spot for your lava lamp
Don’t put your lamp just anywhere. Since it works with a candle, the location is key. Look for a surface that is completely stable; no wobbly tables or shelves that shake when you walk by.
Ideally, pick a corner where there aren’t strong drafts, because if the air moves the candle flame too much, the heat won’t rise consistently into the jar, and the lava cycle will become erratic, or worse, the candle will keep going out.
Also, think about the background. Since we’re playing with transparencies and colors, a white wall or a dark corner will make the movement stand out a lot more.
If you’ve used the fluorescent marker trick, find a spot where you can put a support light nearby to get the full effect. I usually put mine on a solid wood shelf, away from curtains or papers, so I can be completely chill about the whole fire thing.
Maintenance and what to do when you stop using it
One of the questions that always comes up when making a lava lamp is what happens when you turn off the candle. It’s simple: the cycle stops, the liquid cools down, and everything returns to its resting state.
The oil will stay on top or at the bottom depending on how you adjusted the final mix, and the water with alcohol will stay in place.
Over the days, you might notice that a bit of the alcohol has evaporated, especially if you left the jar open for safety (which is what I always recommend).
If you see the level drop a lot or that the lamp has a harder time starting, you can add a small splash of alcohol to make up for it.
A cleaning tip: if for some reason the inside of the jar gets dirty or the oil starts to look cloudy after many sessions, don’t try to filter it.
The best thing is to enjoy your creation for a few weeks and, when you see it losing its shine, empty it, clean the glass thoroughly with hot water and dish soap to remove any traces of grease, and start over.
After all, now you’re an expert in densities and it’ll take you half the time to set it up again.
Frequently asked questions about making a homemade lava lamp
Can I use olive oil instead of baby oil?
You can, but I don’t recommend it. Olive oil is very thick and, above all, has a very intense yellow or greenish color that overshadows the color of the water. Plus, with heat, olive oil can start to smell a bit like cooking. Baby oil or mineral oil are completely transparent and allow the visual effect to be much cleaner and more professional.
My lamp doesn’t move at all, what am I doing wrong?
Most likely it’s a temperature or density balance problem. First, make sure the candle is close enough to the jar. If there’s too much distance, the heat won’t reach it. If heat isn’t the issue, then your alcohol and water mixture is too heavy. Try adding a little more pure alcohol so that the density of the bottom mixture goes down and the heat can push it up more easily.
Is it dangerous to use a candle under a glass jar?
Any experiment that involves fire comes with a risk, but if you’re careful, it’s safe. The most important thing is that the glass is thick and strong (like the ones used for preserves), that you never seal the lid tightly, and that the support (the tuna can) is stable. Never leave the lamp on if you’re not going to be in the room to watch it.
How long can the lamp be on?
I’d tell you not to leave it for more than a couple of hours at a time. The oil and alcohol heat up gradually, and if they get too hot, the lava will stop making nice bubbles and turn into a shapeless mass that stays on top. Also, the glass suffers from prolonged heat. Give it a break now and then so everything cools down and settles.
Why do tiny bubbles appear in the oil that don’t move?
That usually happens when we fill the jar too quickly. They are air bubbles trapped or small drops of water that haven’t had a chance to combine. Don’t worry, over time and with the heat from the first sessions, those little bubbles usually disappear or merge with the main lava mass at the bottom.
What happens if the liquid turns a single color?
If the oil and water have turned the same color, it means you used a dye that is soluble in both water and fat. To avoid this, it’s best to use basic food coloring, which is usually water-soluble. If it has already happened, the only solution is to change the liquids and start over with the right dye.
Can I use an LED bulb to heat the lamp?
No, LED bulbs are designed not to emit heat. For this experiment to work, you need an infrared heat source, like a candle or an old incandescent bulb. If you want to use electricity, look for small halogen bulbs, which also generate the heat needed for convection to occur.
This is the exact process I follow when I want to make a lava lamp that really works, using heat as the engine. Get ready because we’re going to turn some kitchen jars into a retro design piece.
Total Time: 40 minutes
Preparation of the heat support
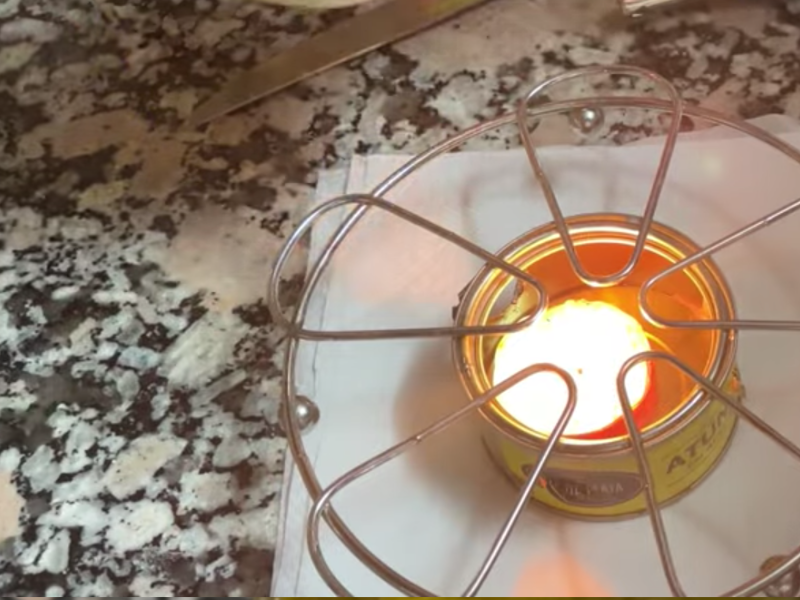
Take the empty, clean tin can. Using the awl or scissors, make several holes on the sides so air can get in. This is essential because if there’s no oxygen, the candle will go out as soon as you put the jar on top. I usually make four big holes spread around the whole perimeter.
The first contact: Alcohol and drops of oil
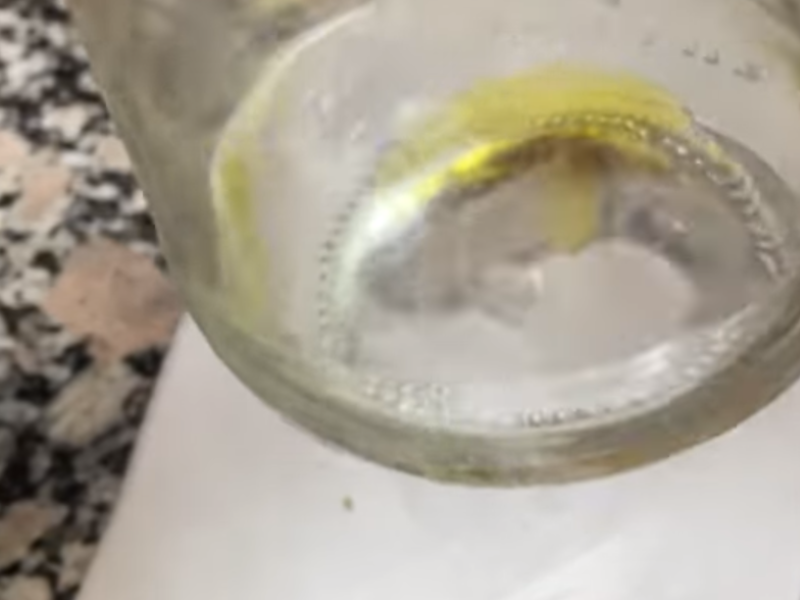
Pour a stream of alcohol into your clean glass jar until it covers about two centimeters from the bottom. Then add a couple of drops of oil. You’ll see them sink and stay at the bottom because the oil is denser than pure alcohol. Don’t panic, this is exactly what we are looking for at this point.
The secret of calibration: Colored water
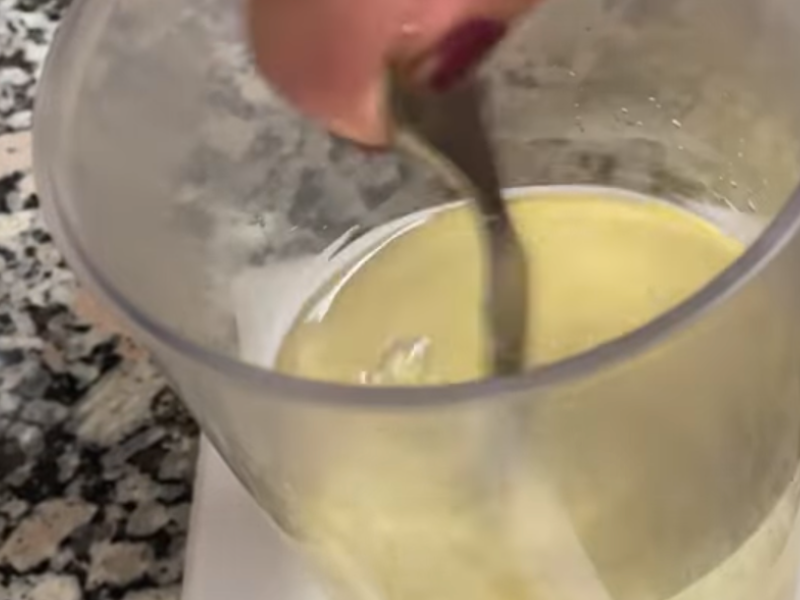
In a separate glass, mix a little water with the marker ink or the food coloring. Now, very carefully, start pouring this colored water into the alcohol jar. Do it drop by drop. You’ll see the alcohol getting thicker as it takes in the water. You need to stop right when you see the drops of oil that were at the bottom start looking round and seem like they want to lift off.
Creation of the oil column
Once you have that balance where the oil almost seems to float, fill the rest of the jar with baby oil. Do it very slowly, letting the oil slide down the side of the glass so you don’t break the bubbles you’ve created below. Always leave a three or four centimeter space of air at the top so the gases and heat have room to expand.
The start of convection
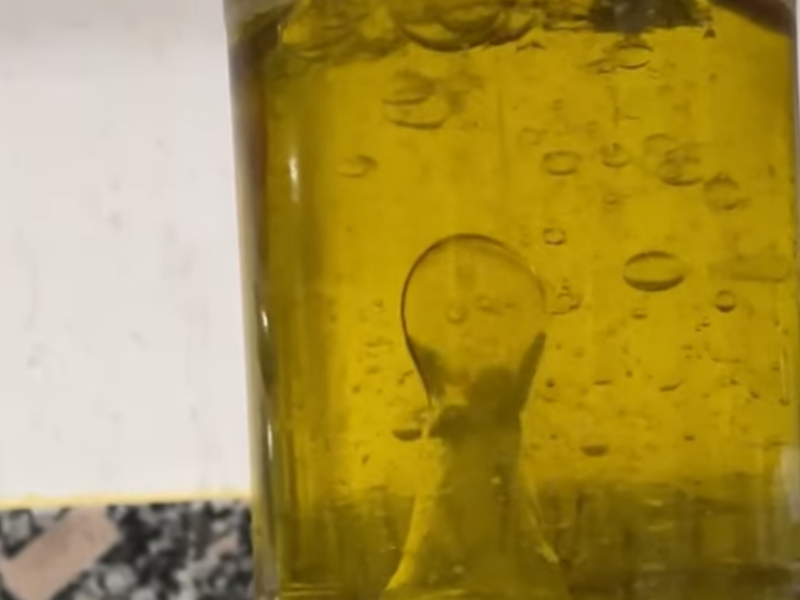
Place the candle inside the tin can, light it, and carefully put the jar on top. Now all that’s left is to wait. The candle’s heat will start warming the water and alcohol mixture at the bottom. You’ll see the colored spheres stretch, and suddenly, one will rise majestically to the surface. There you have it!
Supply:
- 70% or 91% isopropyl/rubbing alcohol.
- Baby oil or clear mineral oil.
- Tap water.
- Fluorescent marker ink or liquid food coloring.
Tools:
- A punch or strong metal scissors.
- A lighter or matches.
Materials: A tall, sturdy glass jar (canning type). A small tea candle. An empty can (tuna or similar).
I hope this guide has helped you create something amazing. There’s nothing like the satisfaction of understanding how the world works and using that knowledge to make something beautiful with your own hands. I love that moment when the first bubble rises, it’s like all the effort and precision of the setup suddenly make sense.
Have you dared to make it yet? I’d love to know what colors you’ve chosen or if you’ve run into any issues with the densities that we can solve together.
Tell me in the comments how it turned out or if you have any tricks of your own that you want to share with the community. I can’t wait to read about your experiences and see how your lava flows!

